
Underfloor heating and wooden floors – what is worth knowing?
The first time you step barefoot onto a heated board, you immediately know: this is what it's all about. But behind this pleasant moment lies a whole story about concrete moisture, board selection, and patient curing. We tell it so you know what to ask your contractor—before the installation begins.

Yes - you can have wood and flooring in one house
Provided that the flooring is of good quality (e.g., thermo oak), the screed is dry, and the installation is allowed to cure. It's not about a single "miracle" product, but about a sensible selection of materials and a contractor who doesn't cut corners.
We're writing this as a wood flooring manufacturer who's seen the same scenarios for years: well-thought-out design, good materials, and then one rushed step, followed by the owner calling asking, "Where are these gaps coming from?" Below, we've gathered some of the questions you should ask your contractor before you start laying the floorboards.
Let's start with this
Can wood and flooring live together?
Wood "breathes"—it reacts to moisture and heat. Underfloor heating heats gently and evenly, so with sensible design, it's one of the most pleasant ways to heat your home. The problem begins when someone tries to cut corners.
When the project is well thought out
Dry screed, manufacturer-recommended flooring, expansion joints along the walls, and a few quiet days of warming up after installation. The floor works discreetly in the background—you get warm feet and often a lower room temperature with the same comfort, without radiators taking up space in the wall.
When something goes wrong
Problems usually start with rushing: wet concrete, a surface that's too hot, a missing gap near the wall, or a board without any information about being used on a floor. This leads to cracks, heaves, and disappointment—no matter how beautiful the board looked in the catalog.
Choosing a board
What wood makes sense to use with flooring?
It's not just about "a nicer color," but also about whether the plank will withstand heat and cold cycles over the years. Not every oak floor is designed for this—it's worth checking before spending your money.
Imagine a board as a living material that goes through hundreds of cycles over the years: expanding slightly as the temperature underneath increases, and shrinking back as the heat fades. Some species and thicknesses can handle this, others not so much.
Thermo Oak
Heat-treated wood is less responsive to changes in temperature and humidity – a safe choice when there is underfloor heating underneath.
Solid oak, 15 mm thick
For underfloor heating, a thinner board works best—usually around 15 mm. The final decision depends on the heating system and the manufacturer's technical data sheet.
Varnish or oil?
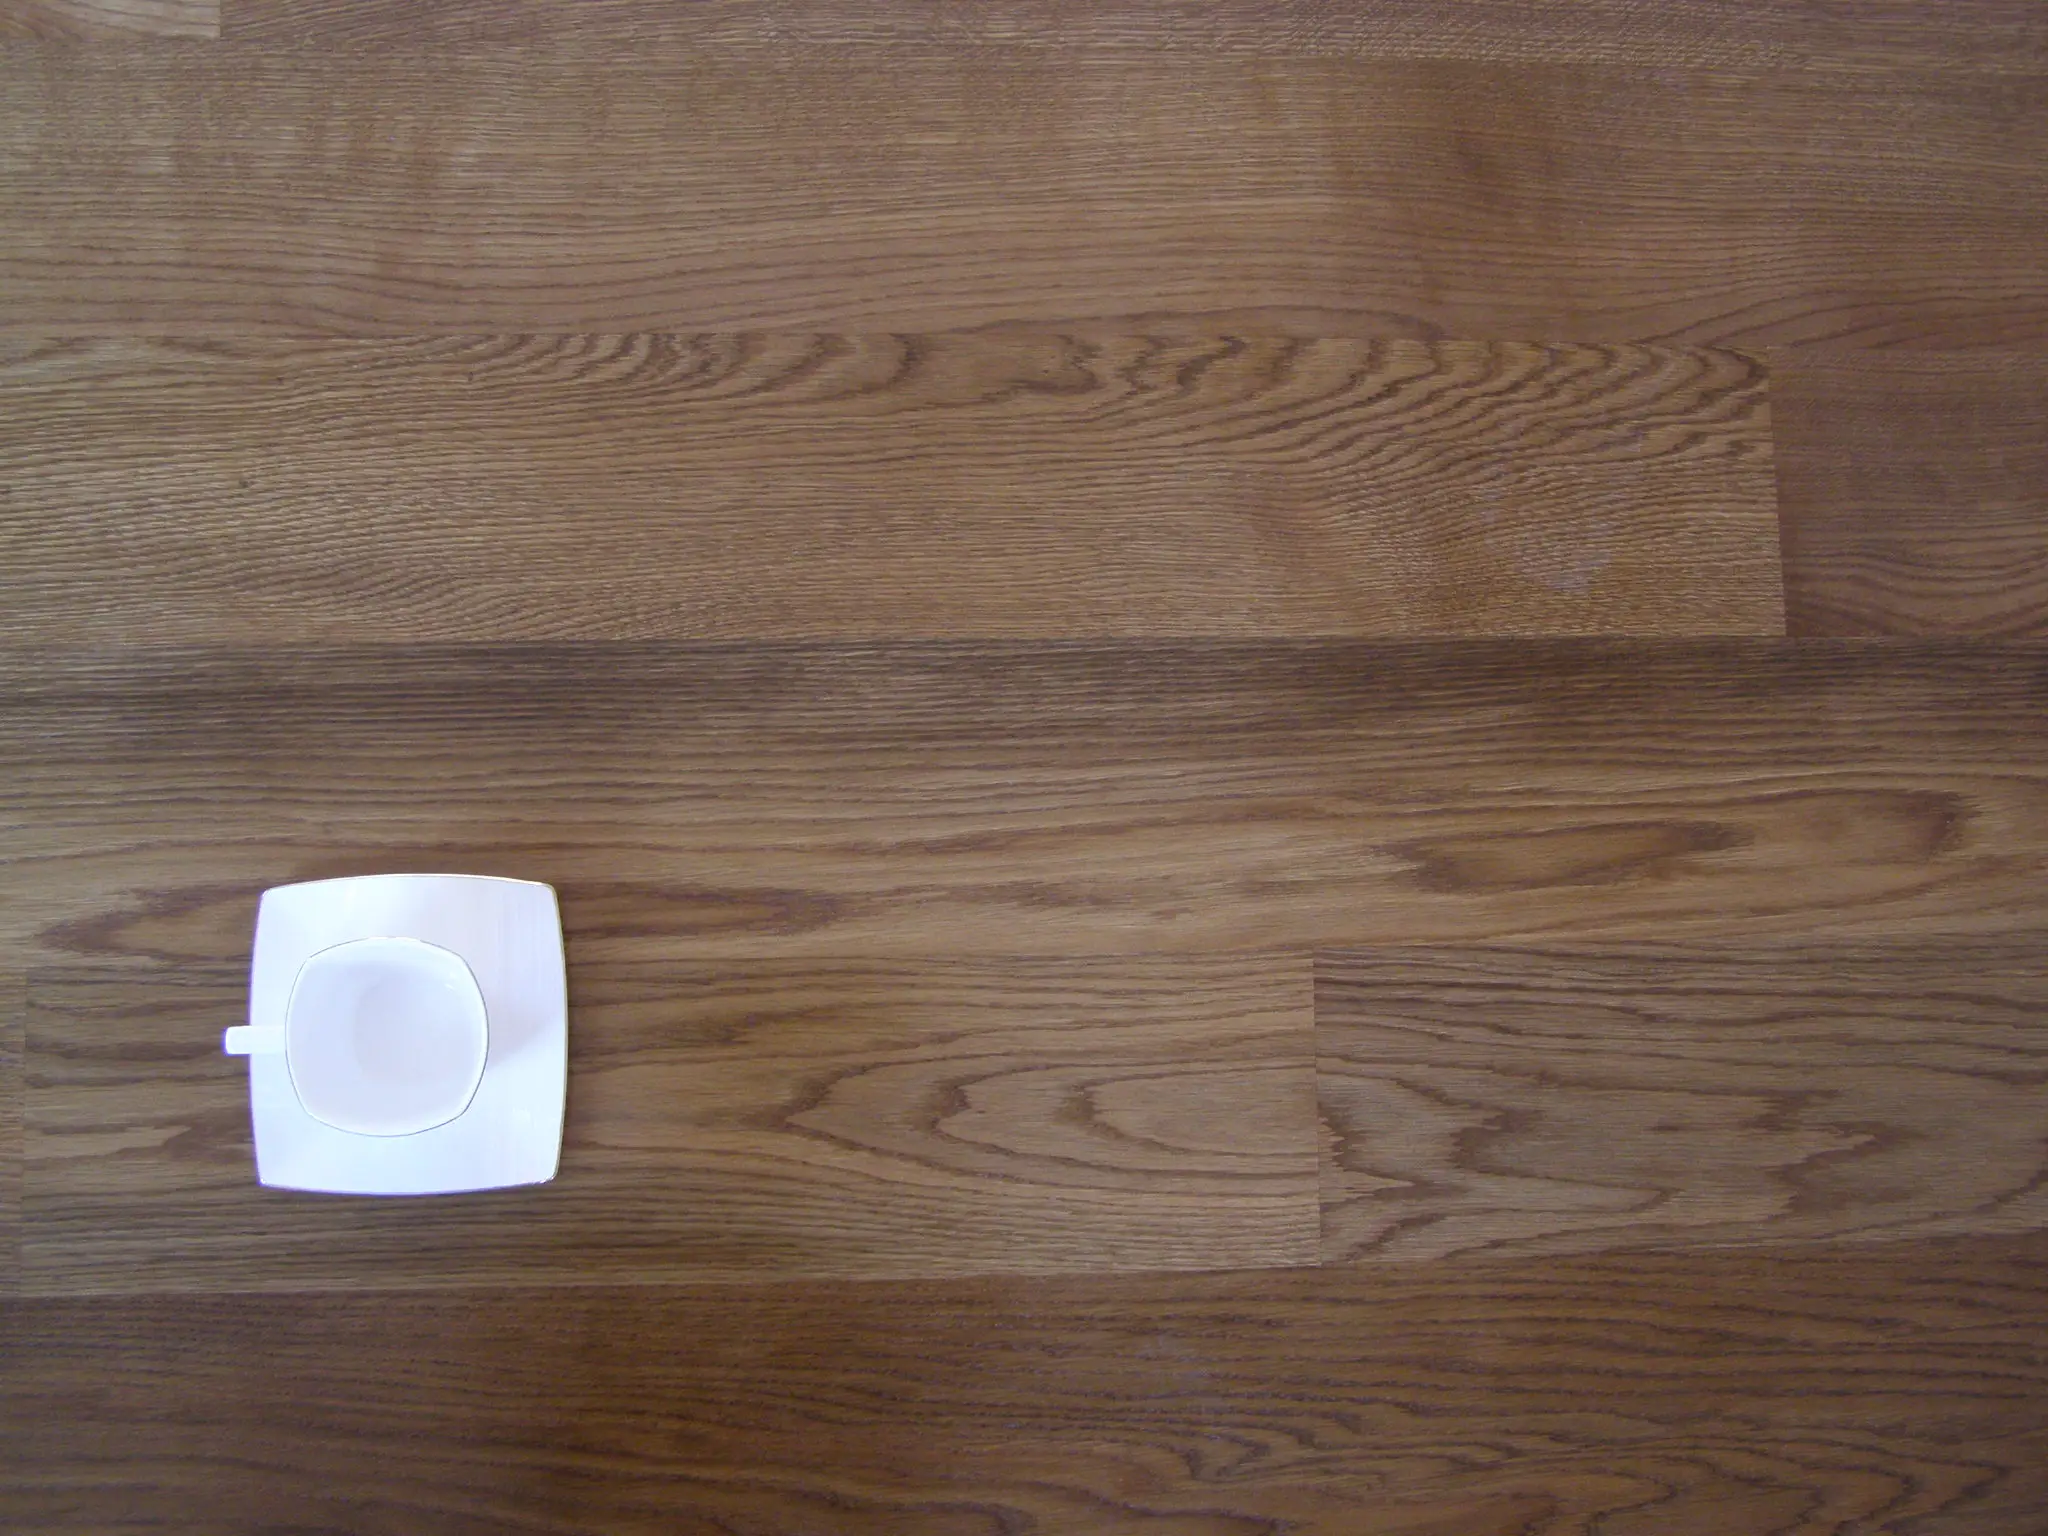
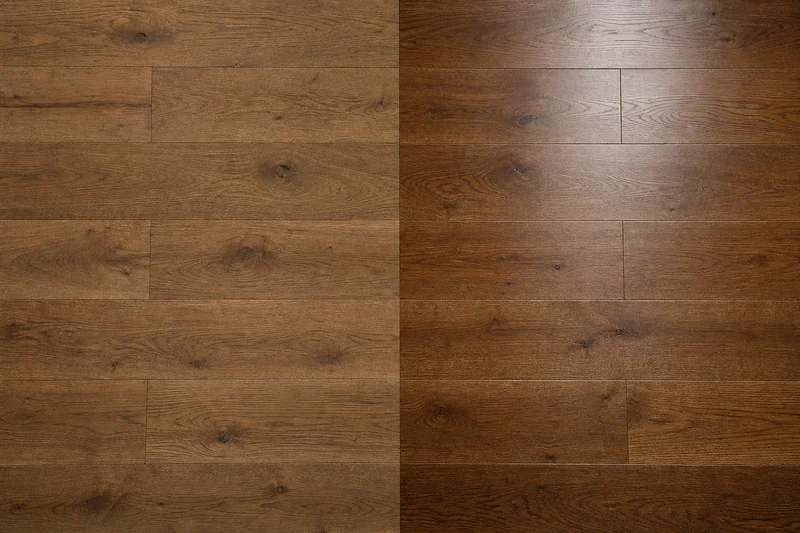
Oil is easier to refresh after years in the selected area; varnish provides a harder, sealed surface. All of our finishes are safe for health and approved for use on heated floors.
More on this topic: Oak boards - classes and colors · Thermo Light Oak · Varnish or oil-wax
What to watch out for
Four things to ask your contractor
You don't have to be an installer. Just know what to talk about—we'll work out the rest together on site, with the manufacturer's documentation at hand.
Dry screed
Before the concrete can be laid, it must have the correct moisture content. This is the most common cause of problems later on – it's worth asking the contractor to measure and record the result before starting the installation.
Warm floor
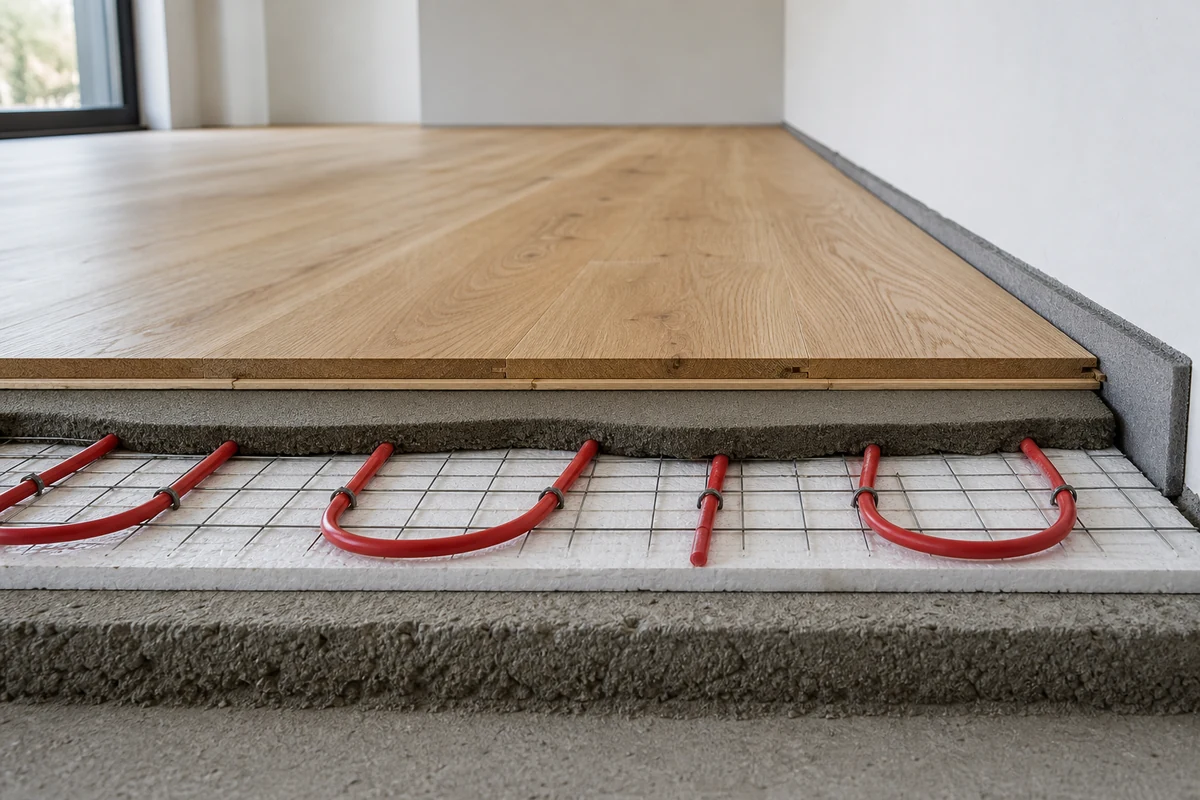
Before installing the floor, it's essential to preheat the floor—removing excess moisture and preparing the subfloor. This process usually takes several days and requires patience, but it can save you the stress of your first winter. A preheating protocol is available for download.
A gap in the wall
A board needs room to work. A perimeter expansion joint isn't a visual detail hidden under a skirting board—it's essential to ensuring the floor doesn't press against the wall as it expands.
When to turn on the heating
The heating should be turned off at least 7 days before installation, and the temperature during installation should be between 18°C and 24°C. After installation, it should be turned on no earlier than 3 days later, and the temperature should not change by more than 2°C per day.
Always take the exact values (concrete moisture, temperature, board thickness) from the technical data sheet of the selected floor and the heating manufacturer's instructions.
Normal operation
Set a reasonable heating curve on the controller and don't keep the floor at a constant maximum - wood prefers gentle changes to hot drying all winter long.
Moderate floor temperature
The floor should be warm and comfortable, not hot. The surface temperature limit is set in the controller, according to the technical data sheet for the floorboard and heating system.
Stable humidity in the home – in winter, the air can be very dry, and wood reacts accordingly. In new homes, underfloor heating is increasingly combined with heat recovery or humidification – not as a luxury, but as a way to ensure the floor operates smoothly.
Installation
Step-by-step assembly
-
Humidity and heating of the floor
Check the concrete moisture content and heat-treat the floor according to the protocol. Heat-treating does not replace drying the room—it is a separate, necessary step in substrate preparation.
-
Preparing the room
Turn off the heating at least 7 days before installation. Maintain a temperature of 18°C – 24°C during installation.
-
Laying the board
Lay a manufacturer-approved floorboard over the subfloor, with perimeter expansion joints along the walls. Leave the wood room for thermal expansion.
-
Waiting after installation
Once the work is complete, wait at least 3 days before turning on the heating.
-
Gradual heating
Raise the temperature slowly—no more than 2°C per day. The entire heating process after installation usually takes several to a dozen days.
Warning
Common mistakes
These situations are the most common – and almost always end with a call to the manufacturer asking about the gaps:
Wet concrete
Laying the board on a screed with too much moisture - without measuring and recording the result.
Surface too hot
No temperature limit in the controller or heating "at maximum" throughout the winter.
No expansion joints
The board is pressing against the wall because there is no perimeter gap left under the strip.
Bad board or rush
Material not approved for underfloor heating or heating started too quickly after installation.
Two types of system
Water floor or electric mat?
Wood doesn't favor one type over another—what matters more is how gently and predictably the system raises the temperature. Both solutions can work, they just need to be managed differently.
In many homes, both work – the question is more about where you get the heat from, how big the rooms are, and whether you prefer slow, even heating or a quick response in one zone.
Water heating
Water heats the floor slowly and evenly, reducing thermal shocks to the floorboard. The system reacts with a delay, so warming up after installation must be planned in advance. It works well in homes with central heating and a heat pump, where stability throughout the winter is essential.
Electric heating
Electric mats are quicker to install and easier to control in specific areas, such as a bathroom or kitchenette. A thermostat with a floor surface temperature limit is crucial; it's essential, not an add-on. They're often chosen for extensions and smaller rooms without plumbing.
Let's talk
Frequently asked questions
This is what you ask most often. Before you call, check to see if your questions haven't already been answered here. If not, we'd be happy to ask about the project details.
Want a board that really matches your flooring?
Tell us about your project – we'll help you choose the right grade, thickness, and finish without technical jargon, but with clear recommendations.